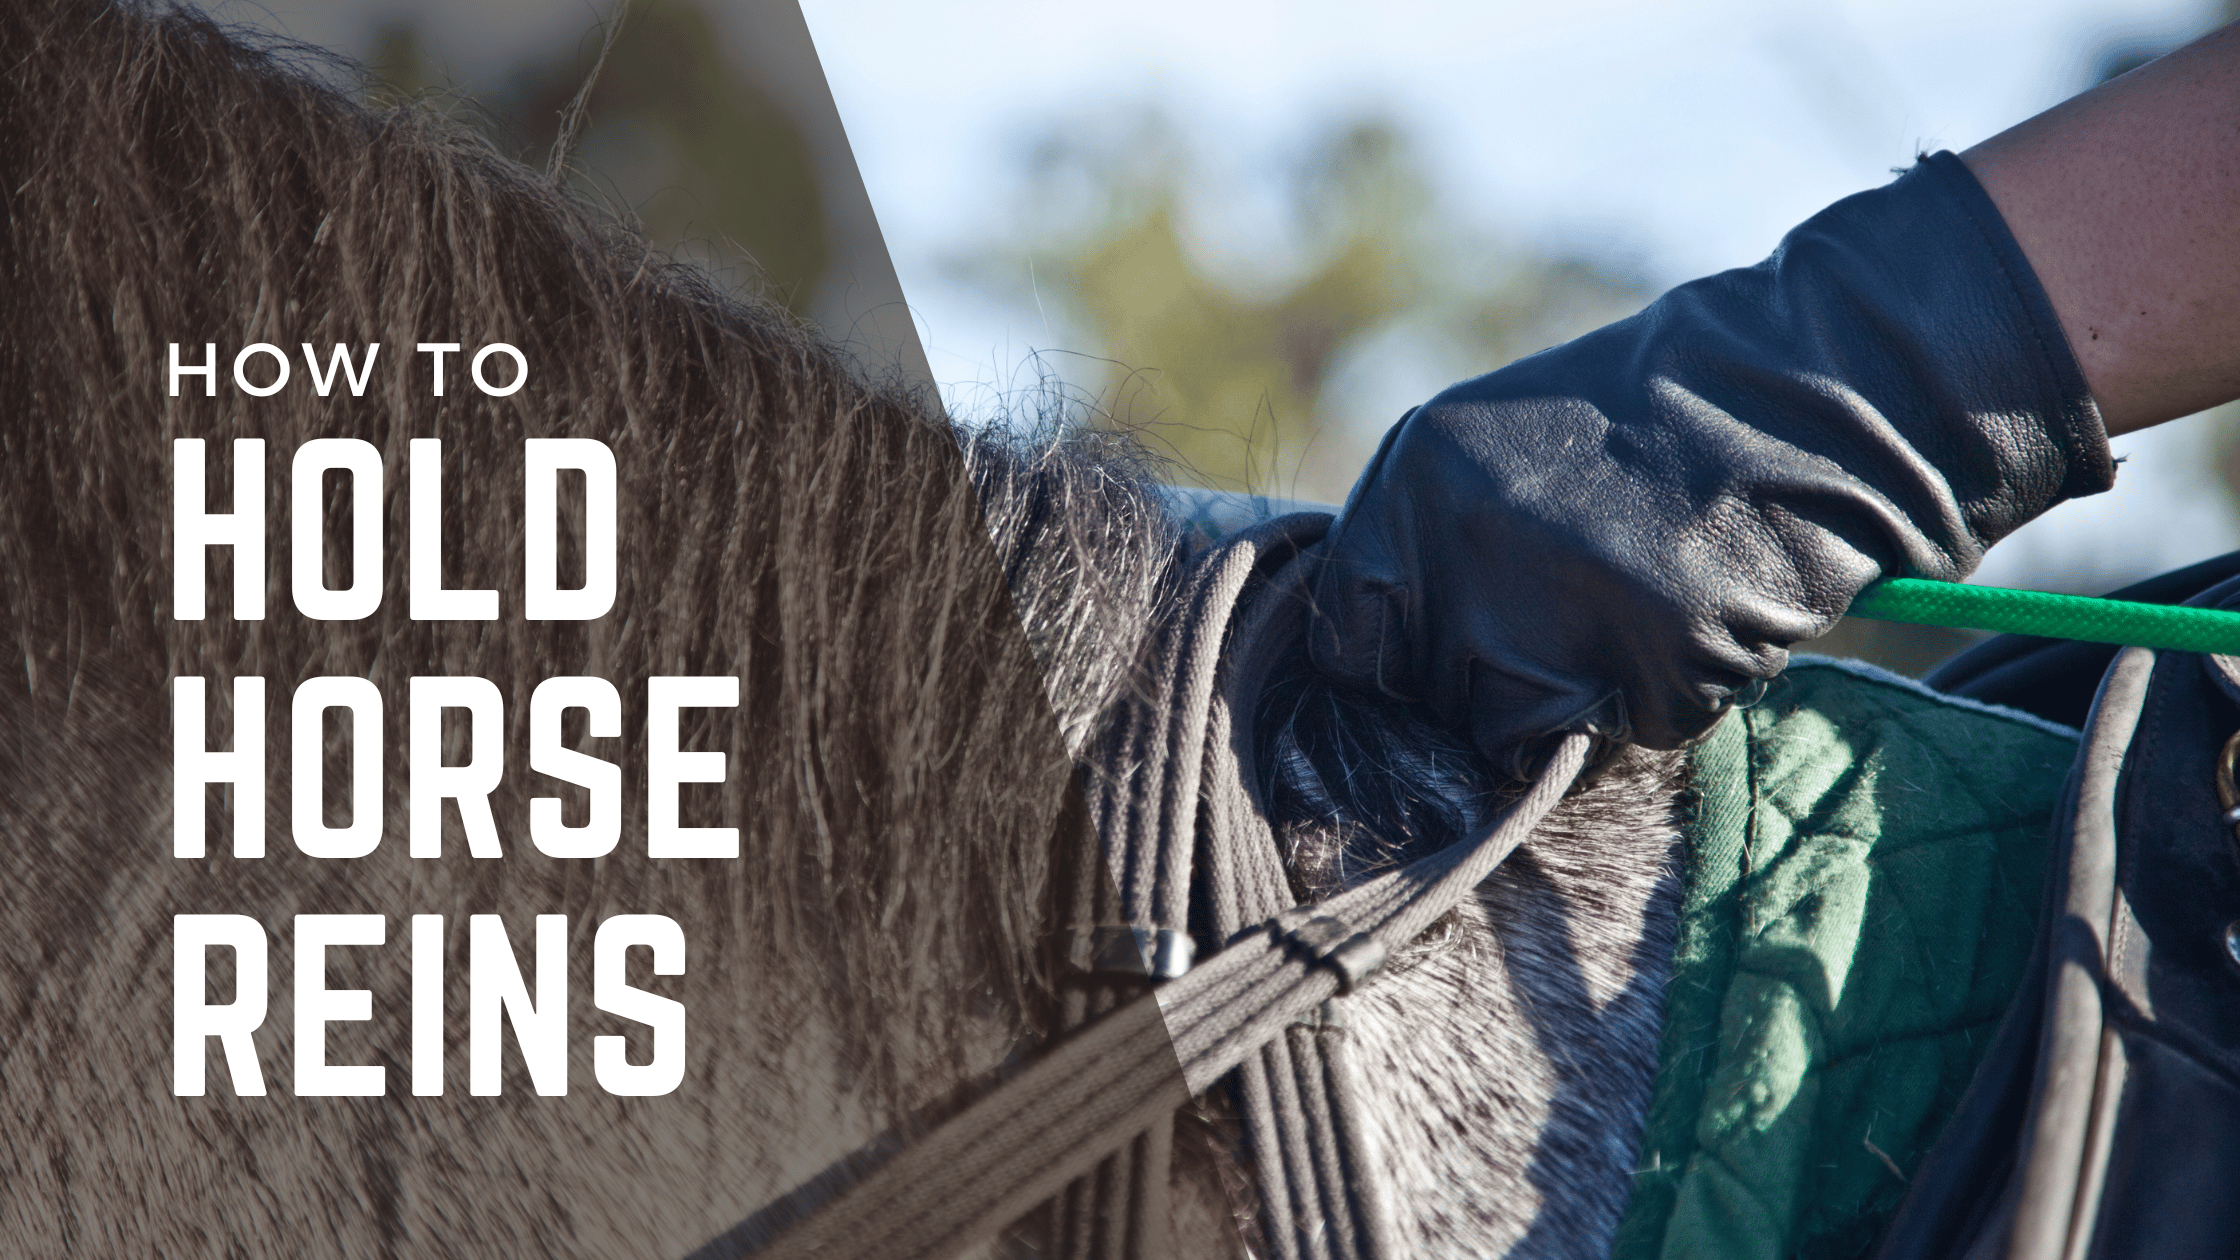


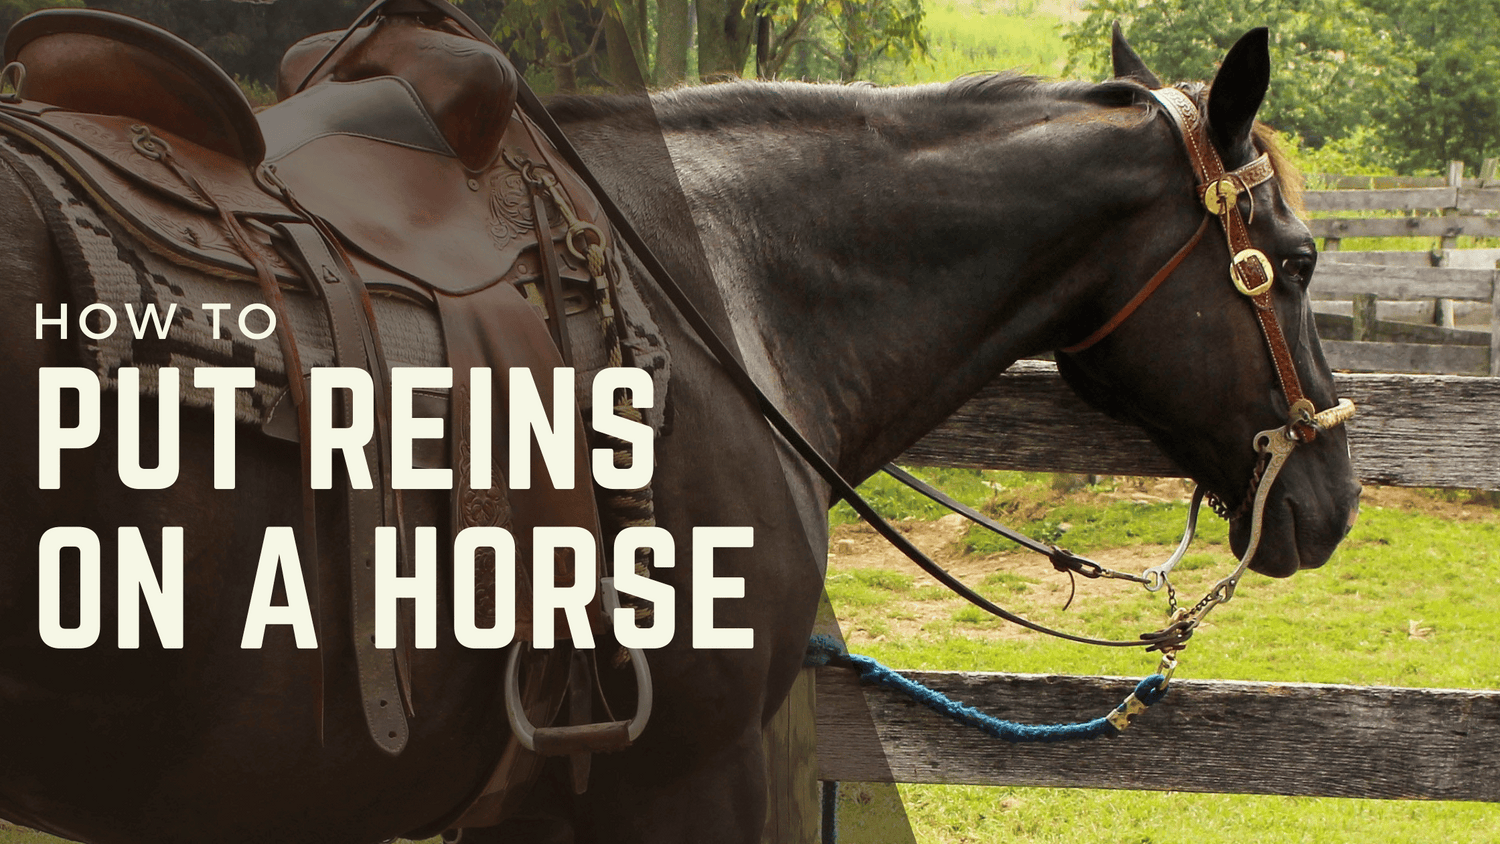
Welcome to our blog post on how to put reins on a horse! Whether you're a seasoned rider or just starting out, understanding the proper technique for attaching reins is essential for effective communication and control while riding. Reins play a crucial role in guiding and directing your horse, making it important to choose the right ones and ensure they are properly attached. In this post, we will walk you through the process step-by-step, from selecting the appropriate reins to maintaining and caring for them. So let's dive in and learn how to put reins on a horse like a pro!
Understanding the Basics: What are Reins and Why are They Important
Reins are an essential piece of equipment used in horse riding. They are long straps or lines made from various materials, such as leather, nylon, or rope, that are attached to the bit in the horse's mouth. The rider holds the reins and uses them to communicate with the horse, giving cues for direction, speed, and control.
Reins are important for several reasons:
-
Communication: Reins allow the rider to establish a clear line of communication with the horse. By gently pulling or releasing the reins, the rider can convey signals to the horse, indicating desired actions or changes in direction.
-
Control and Steering: The reins provide the rider with control over the horse's movements. By applying pressure or releasing tension on the reins, the rider can guide the horse in the desired direction, make turns, or stop.
-
Balance and Stability: Holding the reins helps the rider maintain balance and stability while riding. By maintaining a light and consistent contact with the horse's mouth through the reins, the rider can establish a connection and feel the horse's movements.
-
Safety: Reins are crucial for maintaining control and ensuring safety for both the rider and the horse. In unexpected situations or emergencies, the rider can use the reins to regain control, slow down, or stop the horse.
Understanding the significance of reins and their role in horse riding is essential for any rider. By mastering the art of using reins effectively, riders can establish a strong partnership with their horses and enjoy a safe and enjoyable riding experience. Now that we have covered the basics, let's move on to the next section, which focuses on choosing the right reins for your horse.
Choosing the Right Reins for Your Horse
Choosing the right reins for your horse is crucial to ensure a comfortable and effective riding experience. There are various factors to consider when selecting reins, including the material, length, and type. Let's explore each of these considerations in detail:
Evaluating the Material of the Reins
-
Leather Reins: Leather reins are a popular choice due to their durability, flexibility, and classic appearance. They provide a good grip and a comfortable feel in the rider's hands. However, leather reins may require regular maintenance to keep them supple and prevent cracking.
-
Nylon Reins: Nylon reins are lightweight, easy to clean, and more affordable compared to leather reins. They are also available in a wide range of colors and styles. However, nylon reins may not provide the same level of grip as leather and can be less durable.
-
Rubber or Grippy Reins: Rubber reins have a textured or rubberized surface, providing an excellent grip even in wet conditions. They are particularly useful for riders who require extra security and stability in their grip. However, some horses may find the texture uncomfortable, so it's important to consider your horse's preferences.
Assessing the Proper Length
-
General Length: The length of the reins will depend on your riding discipline and personal preference. Generally, English reins are around 54 to 60 inches long, while Western reins are typically longer, ranging from 72 to 96 inches. It's important to choose reins that are long enough to allow appropriate contact with your horse's mouth without being too restrictive.
-
Split Reins vs. Continuous Reins: English riders often use split reins, which are two separate reins that are not connected in the middle. Western riders commonly use continuous reins, which are a single long rein that is attached to the bit and can be held with one hand. Consider your riding style and preference when deciding between split and continuous reins.
Deciding on the Type of Reins
-
Plain Reins: Plain reins are the most basic type, often made of leather or nylon, without any additional features. They provide a simple and straightforward design for riders who prefer minimalistic reins.
-
Rein with Stops or Knots: Some reins have stops or knots strategically placed along their length. These stops help riders maintain consistent hand position and provide a tactile reference point for hand placement on the reins.
-
Rein with Buckle Ends: Certain reins feature buckle ends, which allow for easy attachment and detachment from the bit. This can be convenient for riders who frequently switch between different bits or bridles.
Consider your riding style, discipline, and personal preferences when choosing the type of reins that will best suit you and your horse. It's recommended to try out different reins and seek advice from experienced riders or professionals to find the perfect fit. Now that you have a better understanding of the factors to consider when selecting reins, let's move on to the next section: preparing your horse for the reins.
Preparing Your Horse for the Reins
Before you can put the reins on your horse, it's important to ensure that your horse is properly prepared and in the right state of mind. This section will guide you through the steps to soothe and calm your horse, position the horse and rider correctly, and check the fit of the bridle and bit.
Soothing and Calming Your Horse
-
Create a Calm Environment: Choose a quiet and familiar area to work with your horse. Minimize distractions and loud noises that could potentially startle or agitate your horse.
-
Establish Trust and Bond: Spend some time grooming and bonding with your horse before attaching the reins. Gently stroke and speak softly to your horse to help them relax and build trust.
-
Warm-up Exercises: Engage your horse in some light warm-up exercises, such as lunging or groundwork, to help them release any excess energy and focus their attention on you.
Proper Positioning of Horse and Rider
-
Correct Horse Alignment: Ensure that your horse is standing squarely on all four legs with their weight evenly distributed. This will help your horse maintain balance and provide a stable foundation for attaching the reins.
-
Proper Rider Position: As the rider, it's important to maintain a balanced and centered position in the saddle. Sit tall with your shoulders back, heels down, and align your ear, shoulder, hip, and heel in a straight line.
-
Adjust Stirrups and Girth: Check that your stirrups are adjusted to the appropriate length for your comfort and riding style. Also, ensure that the girth is tightened sufficiently to secure the saddle in place.
Checking the Bridle and Bit Fit
-
Bridle Fit: Ensure that the bridle is properly adjusted to fit your horse's head comfortably. The browband should sit just below the base of the ears, and the throat latch should be snug but not too tight.
-
Bit Fit: Check that the bit is correctly positioned in your horse's mouth. The bit should sit comfortably in the space between the horse's incisors and molars, with enough room to allow for a wrinkle in the corners of the lips.
-
Assess Bit Size and Type: Make sure that the bit size is appropriate for your horse's mouth. Consider the horse's conformation, age, and level of training when selecting the type of bit. Consult with a professional or experienced trainer if you are unsure.
By preparing your horse properly, you can set the foundation for a successful and comfortable interaction with the reins. Once your horse is calm, positioned correctly, and the bridle and bit are properly fitted, you are ready to move on to the next section: attaching the reins.
How to Attach the Reins
Now that your horse is prepared and in the right state of mind, it's time to attach the reins. This section will guide you through the steps of positioning the reins, securing them to the bit, and making final adjustments and checks.
Positioning the Reins
-
Hold the Reins Correctly: Begin by holding the reins in your dominant hand. For English riding, the reins are typically held between the pinky and ring finger, while the excess rein is looped over the index finger. For Western riding, the reins are usually held in one hand, with the excess rein draped over the palm.
-
Maintain an Even Contact: Ensure that there is an even and consistent contact with both reins. Avoid pulling too tightly or allowing the reins to become too loose. A light and steady contact will allow for effective communication with your horse.
-
Adjust Rein Length: Adjust the reins to the desired length, keeping in mind your riding style and the level of contact you want to maintain with your horse's mouth. The reins should be long enough to allow for flexibility and movement, but not so long that they become difficult to manage.
Securing the Reins to the Bit
-
Locate the Bit Rings: Identify the bit rings on each side of the horse's mouth. These rings are typically located at the ends of the bit and are used to attach the reins.
-
Thread the Reins through the Bit Rings: Starting from the inside of the horse's mouth, thread the reins through the bit rings. Ensure that the reins are not twisted and lie flat against the horse's cheek.
-
Cross Over or Separate the Reins: Depending on your riding style and preference, you can choose to cross the reins over each other or keep them separate. Crossed reins provide a more direct and precise communication, while separate reins allow for independent control of each side of the horse's mouth.
Final Adjustments and Checks
-
Check Rein Length and Tension: Double-check the length of the reins to ensure they are balanced and provide an even contact on both sides of the horse's mouth. Adjust the tension if necessary, maintaining a light and consistent contact.
-
Check Rein Buckles or Attachments: If your reins have buckles or additional attachments, ensure they are securely fastened. Double-check that there are no loose or damaged parts that could pose a safety risk.
-
Observe Horse's Reaction: Pay attention to your horse's response to the reins. Look for any signs of discomfort, resistance, or tension. If your horse seems uncomfortable or exhibits any negative reactions, consider adjusting the rein length or seeking guidance from a professional.
By following these steps, you can securely attach the reins to the bit and establish clear communication with your horse. However, remember that every horse is unique, and it may take some trial and error to find the most comfortable and effective rein setup for you and your horse. With the reins properly attached, we can now move on to the next section: maintaining and caring for your reins.
Maintaining and Caring for Your Reins
Proper maintenance and care of your reins are essential to ensure their longevity and optimal performance. This section will guide you through the steps of regular cleaning and inspection, storing your reins properly, and knowing when to replace worn or damaged reins.
Regular Cleaning and Inspection
-
Remove Dirt and Debris: After each ride, wipe down your reins with a damp cloth to remove any dirt, sweat, or debris that may have accumulated. Pay close attention to the areas near the bit attachments and the hand contact area.
-
Use Leather Cleaner: If you have leather reins, periodically clean them with a leather cleaner or saddle soap. Follow the product instructions and use a soft brush or cloth to gently remove dirt and grime. Avoid using excessive water or harsh chemicals that may damage the leather.
-
Check for Wear and Tear: Regularly inspect your reins for any signs of wear, such as loose stitching, frayed edges, or cracks. Pay close attention to areas that experience the most tension, such as the bit attachments and areas where the reins make contact with your hands.
Storing Your Reins Properly
-
Avoid Sunlight and Extreme Temperatures: Store your reins in a cool and dry place, away from direct sunlight and extreme temperature fluctuations. Prolonged exposure to sunlight can cause the leather to fade and dry out, while extreme temperatures can lead to cracking or warping.
-
Proper Hanging or Coiling: For leather reins, it's best to hang them vertically using hooks or loops to prevent them from getting tangled or developing kinks. Alternatively, you can coil them loosely and store them in a breathable bag or container.
-
Separate from Other Tack: Store your reins separately from other tack items to prevent scratches or damage. Avoid placing heavy objects on top of your reins, as this can cause deformation.
Replacing Worn or Damaged Reins
-
Assess the Severity of Damage: If your reins exhibit significant wear or damage that compromises their usability or safety, it may be necessary to replace them. Small areas of wear or minor damage can sometimes be repaired by a professional leatherworker.
-
Consider Quality and Durability: When replacing your reins, take into account the quality and durability of the material. Investing in high-quality reins will ensure their longevity and reliability during rides.
-
Seek Professional Advice: If you're unsure about the condition of your reins or need assistance in selecting a suitable replacement, consult with a knowledgeable equestrian professional or tack specialist who can provide guidance based on your specific needs.
By regularly cleaning, inspecting, and properly storing your reins, you can prolong their lifespan and maintain their functionality. Knowing when to replace worn or damaged reins is crucial for the safety and comfort of both you and your horse. With proper maintenance and care, your reins will continue to serve you well. Now that we have covered maintaining and caring for your reins, let's move on to the conclusion of this blog post.