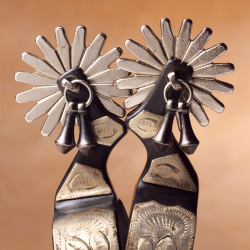
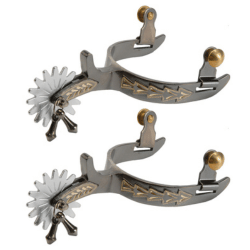
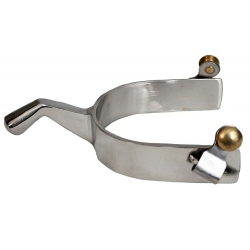
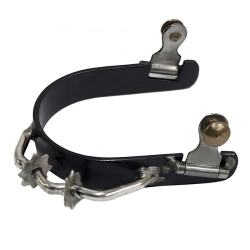
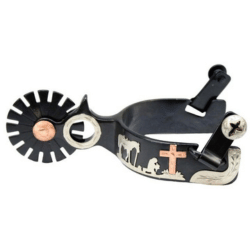
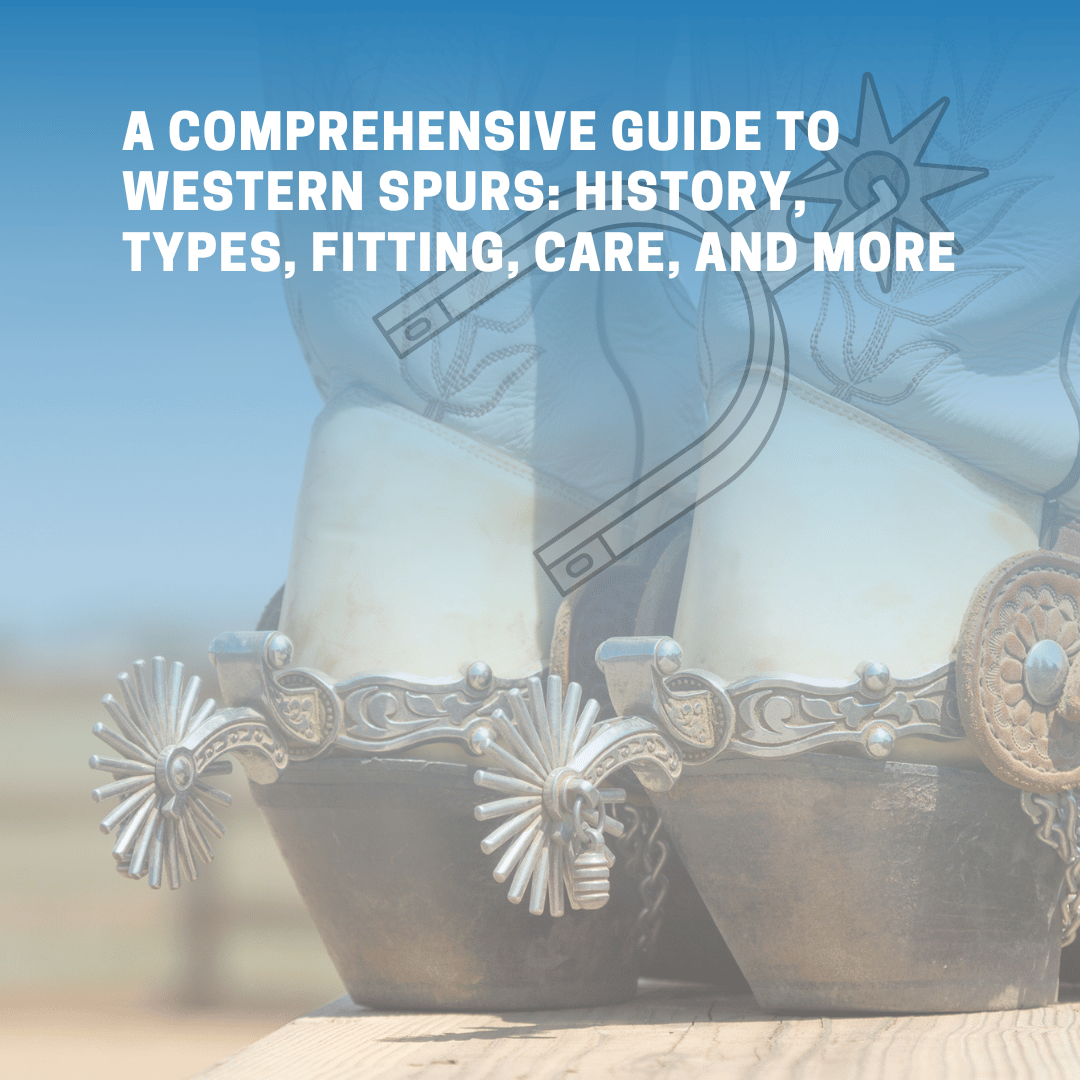
Are you ready to add some style and functionality to your western spurs? Strapping on a new pair of spur straps can not only enhance the appearance of your spurs, but also provide a more secure and comfortable fit for your boots. In this blog post, we'll walk you through the steps for putting on spur straps, so you can confidently ride in style.
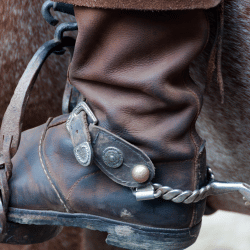
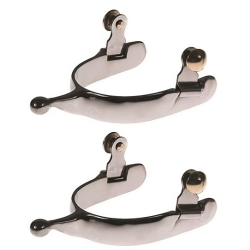
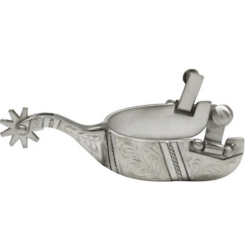
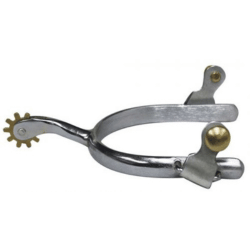
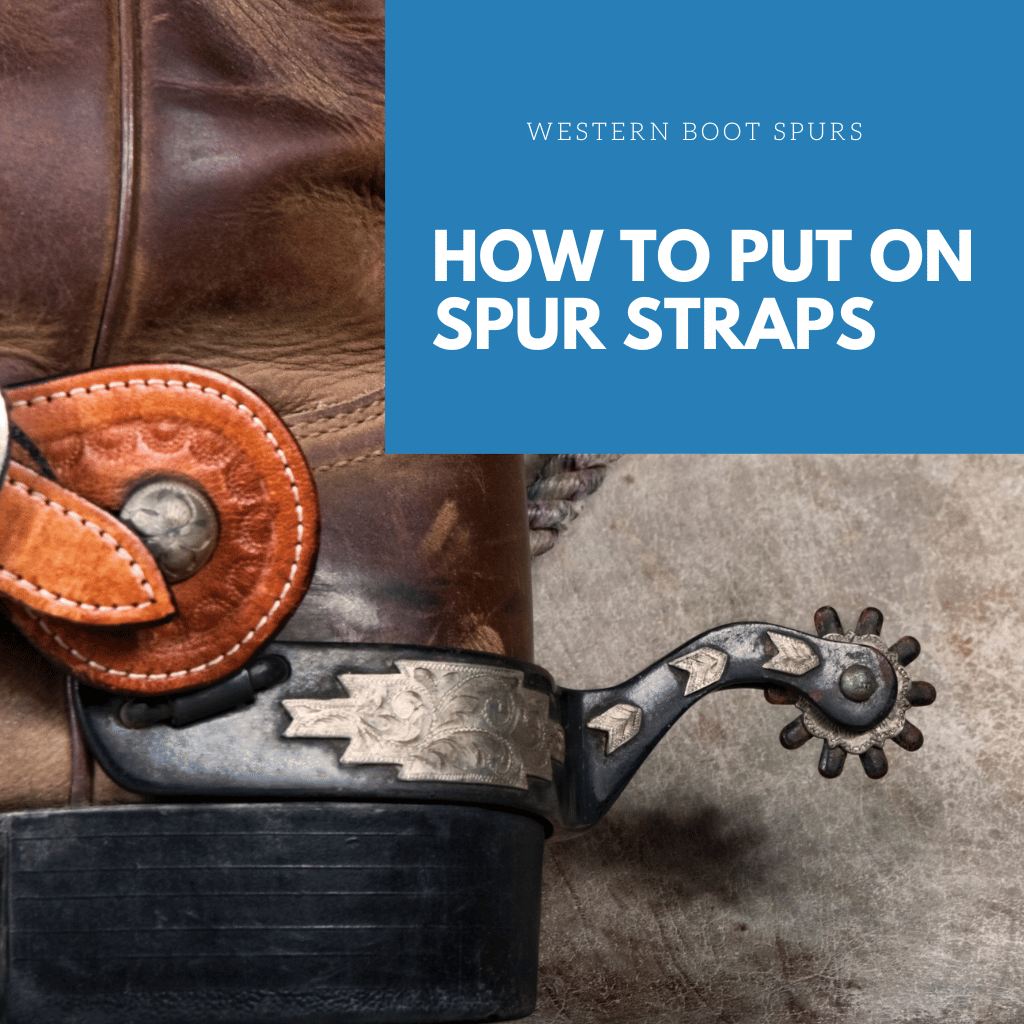
Before we get started, it's important to note that there are a few different types of western spurs, each with its own unique straps. The type of spur you have will determine the specific method you'll use to attach the straps. Here, we'll be focusing on the most common type of western spur, which has a buckle on the strap that fastens to the spur's button or shank. Now, let's get started!
First things first, gather your supplies.
You'll need your spurs, a pair of spur straps, and a screwdriver (if your spurs have removable buttons). If your spurs have removable buttons, use the screwdriver to remove the old straps (if applicable).
Take one of the new spur straps and find the hole that corresponds with the button or shank on your spur. The hole should be slightly larger than the button or shank, so the strap can be easily slid over it.
Slide the strap over the button or shank, making sure the buckle is facing outward.
Repeat this process with the other spur, attaching the second strap to the opposite button or shank.
Once both straps are in place, you can adjust the fit by sliding the buckle along the strap until it feels comfortable and secure.
Finally, it's time to put your boots on and test out your new spur straps.
Take a few steps and make sure the straps feel snug and secure, but not too tight. If they feel too loose or too tight, adjust the buckle as needed until you find the perfect fit.

And there you have it – a simple and easy guide to putting on spur straps for your western spurs. With these steps in mind, you'll be able to easily add a touch of style and functionality to your riding gear. Happy riding!

